To Create a VPN Client Follow the simple Steps
1. Goto Control Panel and select Network and Sharing Center
2. Now Select Set up a new connection or Network

3. Select connect to a workplace, and click on Next

4. Select Use my Internet Connection (VPN)

5. In internet Address type the IP or Domain name address of your VPN Server, click on Next

6. Enter the username and password that will be use to connect to VPN Server. (VPN Server Administrator will provide you this information)

7. Now finally click on Connect

Thats it you will be connected to your VPN
I hope it was informative for you, and I would like to Thank you for reading.
1. Goto Control Panel and select Network and Sharing Center
2. Now Select Set up a new connection or Network

3. Select connect to a workplace, and click on Next

4. Select Use my Internet Connection (VPN)

5. In internet Address type the IP or Domain name address of your VPN Server, click on Next
- You can assign a unique name for this connection in Destination Name

6. Enter the username and password that will be use to connect to VPN Server. (VPN Server Administrator will provide you this information)

7. Now finally click on Connect
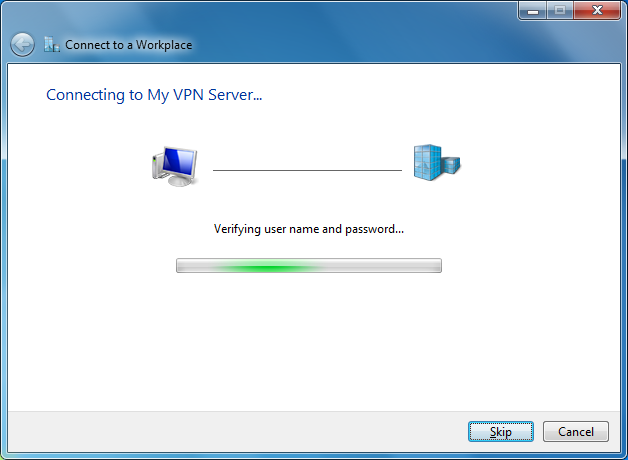
Thats it you will be connected to your VPN
I hope it was informative for you, and I would like to Thank you for reading.
No comments:
Post a Comment