With the release of Visual Studio 2005 Microsoft introduce new login controls in .Net framework 2.0 so that developers do not need to write same code again and again. Microsoft has provided different providers for them to connect with different user data sources.
In this post I am going to discuss how to configure membership provider for active directory. It very common scenario that you need to create an intranet application and provide the functionality to the office employees to connect the application using domain user.
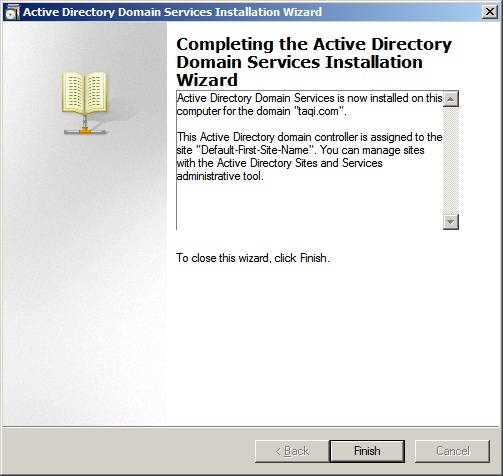
In order to connect to active directory you need to have active directory deployed. If you don’t have active directory deployed please referrer to installing active directory.
After installing active directory follow the following steps.
1. Add the following connection string under </configSections> tag.
The above connection string is pointing to our active directory and its name is ADConnectionString.
NOTE: if connection element right under the <configuration> tag following exception will occur
Parser Error Message: Only one <configSections> element allowed per config file and if present must be the first child of the root <configuration> element.
2. Now add following membership provider under <system.web> tag.
In the above membership provider we mentioned defaultProvider as we can use more the one providers.
In the type we mentioned that we are going to use active directory membership provider by specifying ActiveDirectoryMembershipProvider assembly information.
Note that in the connectionStringName I have use the same name I mentioned while creating connection string.
In the connectionUsername and connectionPassword I am specifying that this is the service account I am going to use while connecting to the active directory.
NOTE: in this example I have use techerz.com as domain name, you need to ‘techerz.com’ with your domain name. If you don’t know the domain name just ping the computer on which active directory is deployed.
Ping <computer name>
It’ll return fully codified domain name like [computer name].[domain name].com. use only [domain name].com
3. Add a new web form and name it Destination.aspx
4. Now add the following markup on in the landing page of your website.
You are done with connecting with active directory. Have a nice day :).
In this post I am going to discuss how to configure membership provider for active directory. It very common scenario that you need to create an intranet application and provide the functionality to the office employees to connect the application using domain user.
In order to connect to active directory you need to have active directory deployed. If you don’t have active directory deployed please referrer to installing active directory.
After installing active directory follow the following steps.
1. Add the following connection string under </configSections> tag.
<connectionStrings>
<add
name="ADConnectionString"
connectionString="LDAP://techerz.com/CN=Users,DC=techerz,DC=com"/>
</connectionStrings>
The above connection string is pointing to our active directory and its name is ADConnectionString.
NOTE: if connection element right under the <configuration> tag following exception will occur
Parser Error Message: Only one <configSections> element allowed per config file and if present must be the first child of the root <configuration> element.
2. Now add following membership provider under <system.web> tag.
<membership defaultProvider="DomainLoginMembershipProvider">
<providers>
<add name="DomainLoginMembershipProvider"
type="System.Web.Security.ActiveDirectoryMembershipProvider, System.Web, Version=2.0.0.0, Culture=neutral, PublicKeyToken=b03f5f7f11d50a3a"
connectionStringName="ADConnectionString"
connectionUsername="techerz.com\administrator"
connectionPassword="123"/>
</providers>
</membership>
In the above membership provider we mentioned defaultProvider as we can use more the one providers.
In the type we mentioned that we are going to use active directory membership provider by specifying ActiveDirectoryMembershipProvider assembly information.
Note that in the connectionStringName I have use the same name I mentioned while creating connection string.
In the connectionUsername and connectionPassword I am specifying that this is the service account I am going to use while connecting to the active directory.
NOTE: in this example I have use techerz.com as domain name, you need to ‘techerz.com’ with your domain name. If you don’t know the domain name just ping the computer on which active directory is deployed.
Ping <computer name>
It’ll return fully codified domain name like [computer name].[domain name].com. use only [domain name].com
3. Add a new web form and name it Destination.aspx
4. Now add the following markup on in the landing page of your website.
<asp:Login ID="lgnAppLogin" runat="server" DestinationPageUrl="~/Destination.aspx" />
You are done with connecting with active directory. Have a nice day :).




 .
.
